Create and customize persona
-
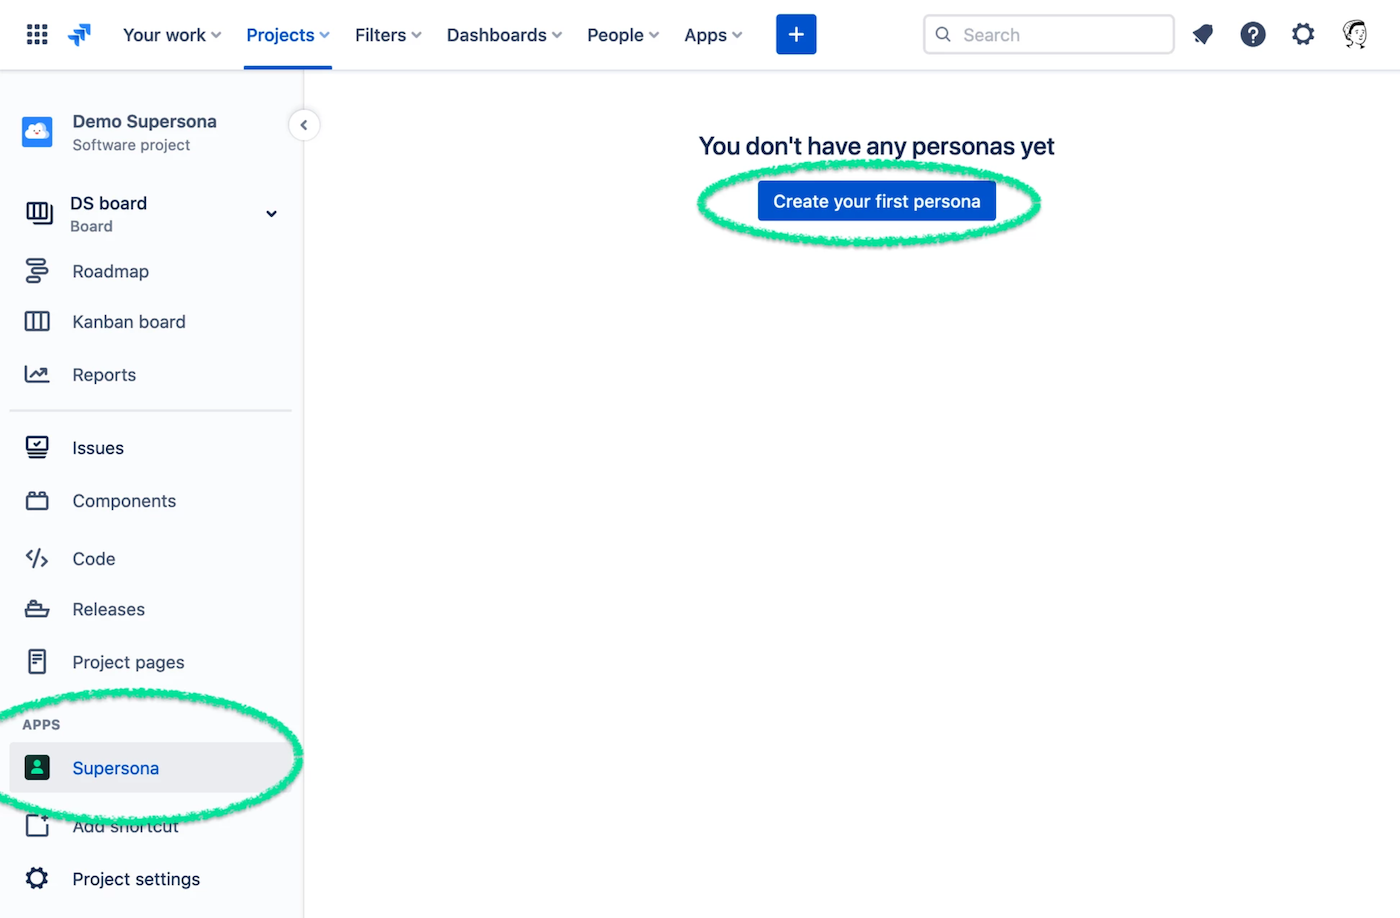
Go to any Jira project
-
Click on Supersona in the sidebar, then click on “Create your first persona”.
☝️ Please notice:
Creation of personas requires users to have the editIssue permission for the given project. For editing, users must have the editIssue permission for all projects the persona is assigned to.
When you create a new persona, you can customize it by specifying the profile, avatar, and properties.
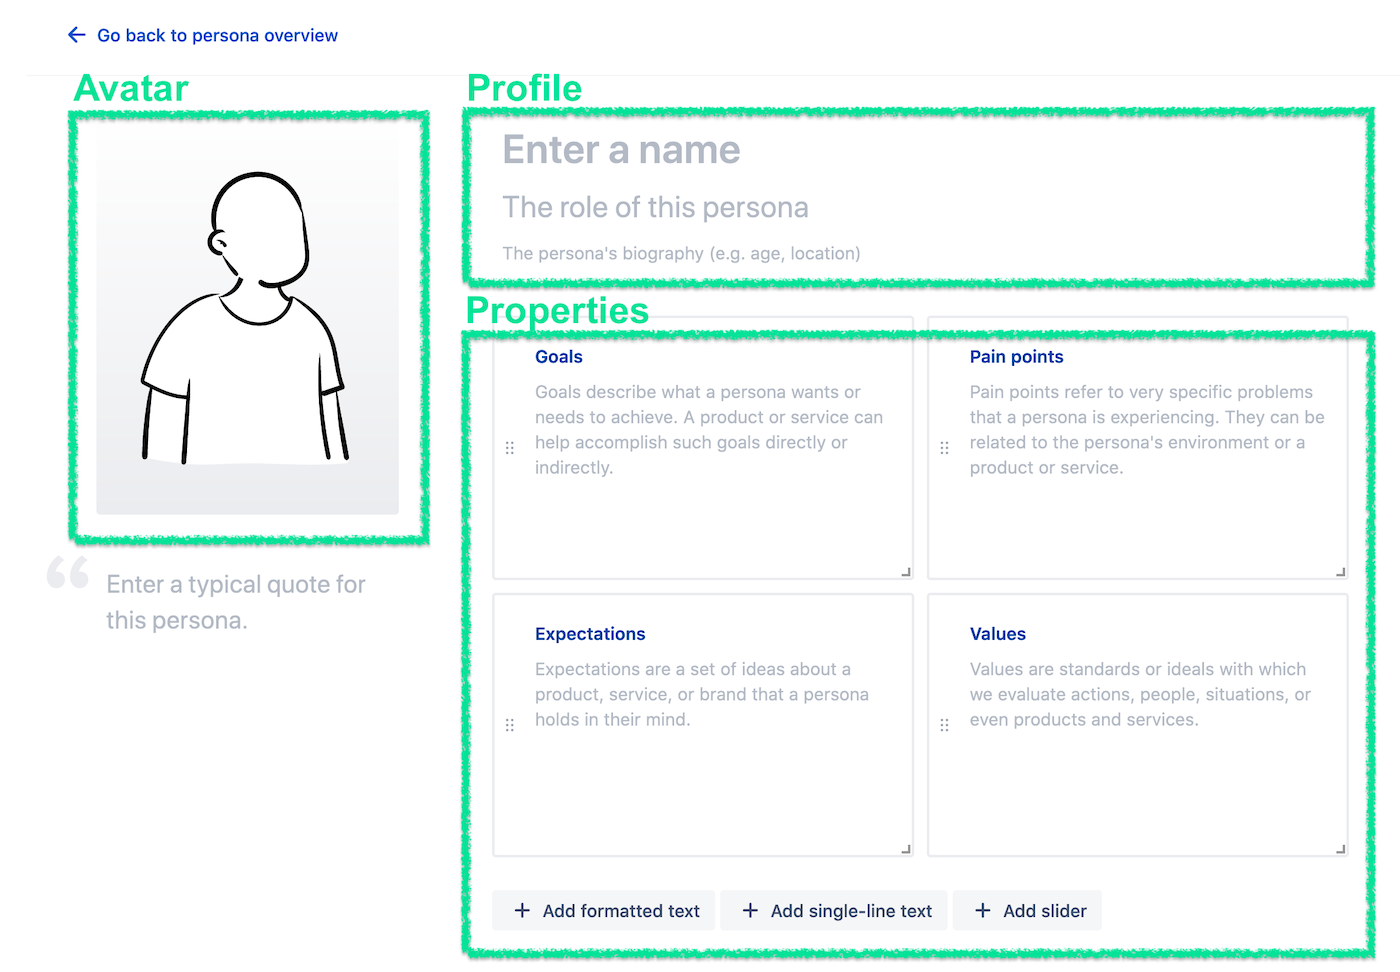
Profile
Section titled “Profile”In the profile section, you can specify a name, role, and short biography for every persona. All fields are optional, so you can leave them empty if you like, but we highly recommend at least specifying a name and role (e.g. job title).
☝️ Please notice:
Personas are saved automatically when you make changes.
Properties
Section titled “Properties”The boxes on the right side represent the persona’s properties. Every property has a title and a value and is fully customizable. New personas have four default properties (“Goals,” “Pain points,” “Expectations,” and “Values”), which serve as a starting point, but can be modified at will.
Create a new property
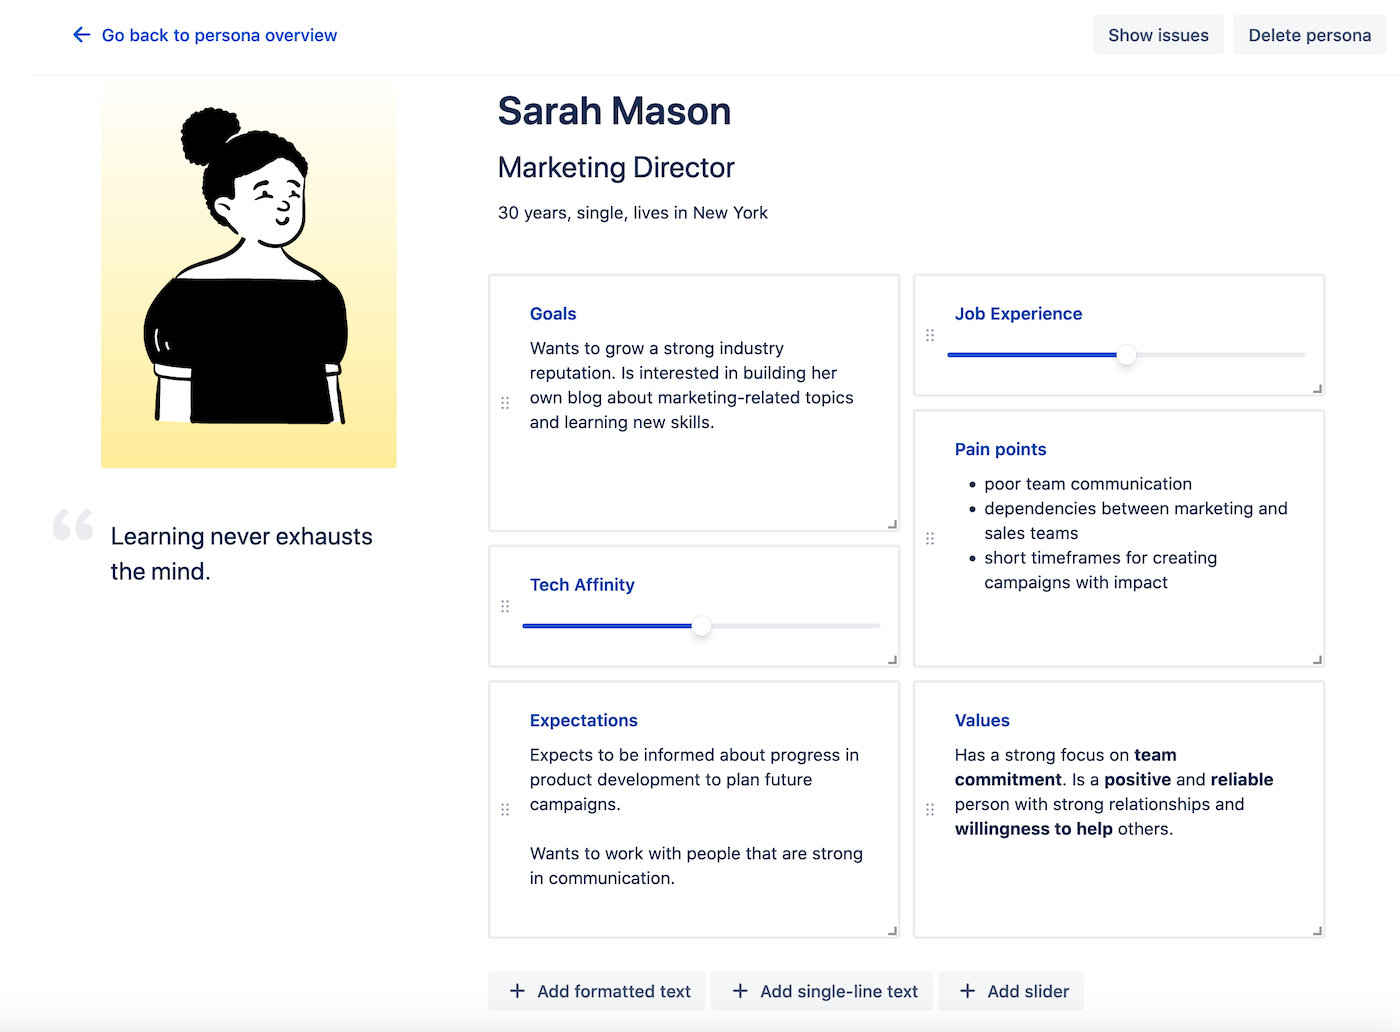
Section titled “Create a new property”Click on one of the create buttons at the bottom of the property list to create a new property. There are three types of properties:
- Formatted text: formatted multi-line text (including ordered and unordered lists).
- Single-line text: a single line of text.
- Sliders: a slider component for visualizing persona-related data (e.g. job experience)
Delete a property
Section titled “Delete a property”Hover over a property and click on the trash can icon at the top right to delete a property.
Reorder and resize properties
Section titled “Reorder and resize properties”Click and drag a property using the drag handle (six dots) at the left side of the box. To resize a property, click and drag the resize handle at the bottom right.
Avatar
Section titled “Avatar”-
Click on the avatar image.
-
Customize the body, head, face, facial hair, and accessory by clicking on the respective tab and choosing an option.
-
Change the avatar color by clicking on the color field in the top left corner of the avatar.
-
When you are satisfied with the result, click on “Save avatar”.